Friday, February 27, 2015

National Pancake Day

Tomorrow is National Pancake Day!

I will not be able to celebrate it as we are traveling today and tomorrow.

We are a sugar free home, so our pancakes will have to wait for another day to be celebrated and, ahem, eaten.

How celebrated will they feel??

But you should know....sugar free, done the right way can be just as yummy as the full sugar counterpart!

Dates as sweetener...mmmmmmmmmmmmmmmmmmmmm.

Here is what I am talking about!

Cinnamon Roll Pancakes: http://chocolatecoveredkatie.com/2014/01/24/cinnamon-roll-pancakes/

Cinnamon Roll Pancakes from Chocolate Covered Katie!!!

Here is the link to her amazing recipe.

http://www.yummly.com/recipe/external/Cinnamon-Roll-Pancakes-565898

Thank you Katie for all your hard work and knowledge that makes like so yummy for the rest of us!!!


Have an amazing weekend all!

Tuesday, February 24, 2015

Wise Words


Be who you were created to be.

Stop comparing yourself to others.

Walk confidently in the gifts God has given you.

Shine your light.

Twirl.

Author Unknown.


I love this! I am going to make this a print and put this up in my house!

I hope that today you find that you are willing to take the chance, to twirl without worrying about others looking at your.

I hope that today you find that you are willing to walk confidently in the gifts God has given you.

I hope that today you find that you are willing to stop comparing yourself to others.

And I hope that today you are willing to be who you were created to be!

I am going to twirl. Twirl with abandon! Do life big!!!


Thursday, February 19, 2015

Just Some Thoughts and A Door Knob

How is that for a title! 

First, some thoughts:

As I was looking through some of the blog spots that I have saved in my computer, I noticed that about 90% of the homes that these bloggers have are, hmmmmmmm, how shall I say this.....


majestic.

My home and what I do is not majestic.

On the contrary, it is very modest. And I am so very OK with that!

So I hope that all who read this blog love the normal


okay, okay.....quirkey

not over the top things that I do.

I kind of feel like decorating, table-scaping, etc. would just be easy with a huge home and a family income that is three times my husband's and mine.

I am not whining or wishing for something different here, so please do not take it that way.

On the contrary, I love my life and my home and feel as though what I can share that you all tell me you love is something that EVERYONE could do.


No matter their house size or income.

I hope that all made sense.

Now, on to the door knob!!

My Mother and I took a stroll (a marathon hiking time would be more accurate!) through our local antique mall the other day.


4 stories, a mom that had not been out of the house in ages...
you get the picture!

She fell in love with a green night stand that I had to go back and get as she could not pull the trigger that day & made the decision to purchase it the day after we went shopping.

And she bought for me this beauty!


It was a great price....$6.


Yes! I know! Score!

I want to make it work for our laundry room door, which my sweet hubby says is doable, and now I am very anxious to get that started!

But in the mean time, here are a few photo's that I took of this lovely door knob!

It was the best at this photo session....I did not have to tell it one time to be still or move this way or that!!


Yay me!!

Tuesday, February 17, 2015

Dog Nappin'

I bought a dog bed....big news I know!

or not.

I was certain in the store that both dogs would fit nicely in the bed.

My hubby thought differently.

Soooooooooooooo, I wanted to make one as I had spent my wad on the store bed. 

Free works for me most of the time and this was no different.

I found an old pillow that had been flattened from over use!


I then went to my basement to see what I could find for material.

I found a nice tan stripe that will work nicely!

I measured the pillow length and width, cut the top and bottom from the material.  I wanted it to look a bit more of a bed style and not just a pillow cover which meant that I needed "sides".
I cut strips of the material 3 inches wide and 10 inches longer than the circumference of the pillow.
This way the "sides" are 2 inches tall after sewing (there is that 1/2 inch seam allowance!) and I had plenty to fold in when getting to the end of the sewing. 


I finished the edges of the back of the pillow sides as I wanted to have flaps to stuff the pillow into and take it out of for easy washing....you will see that in a moment.

Sew right sides together all around the pillow top attaching the side to the top.

Repeat with the bottom....can you see here the opening I left to put the pillow into? If you are confused, I explain it in more detail in this post: http://inpayne-paula.blogspot.com/2015/02/throw-pillows.html


This is the blanket that was in use and ALWAYS a tripping hazard, 
probably the dogs way to get back at us for clipping their nails and giving them baths....we are such terrible humans!!!

As you can tell from the pictures, he took right to it!


OR NOT.

If not for my hubby commanding him to stay, Ernie would have bolted.


I feel so appreciated.


The bed is done and it really was about a 45 minute start to finish job.
And the best thing ever.....BOTH DOGS SLEEP TOGETHER IN THE BLUE AND GRAY BED!
Again....I feel so appreciated.

Thursday, February 12, 2015

By The Seat Of My Chair

My Mom bought a chair....a rather ahem, ugly chair.
The lines of the chair are great! The price was even better, $3.00 at an estate sale.

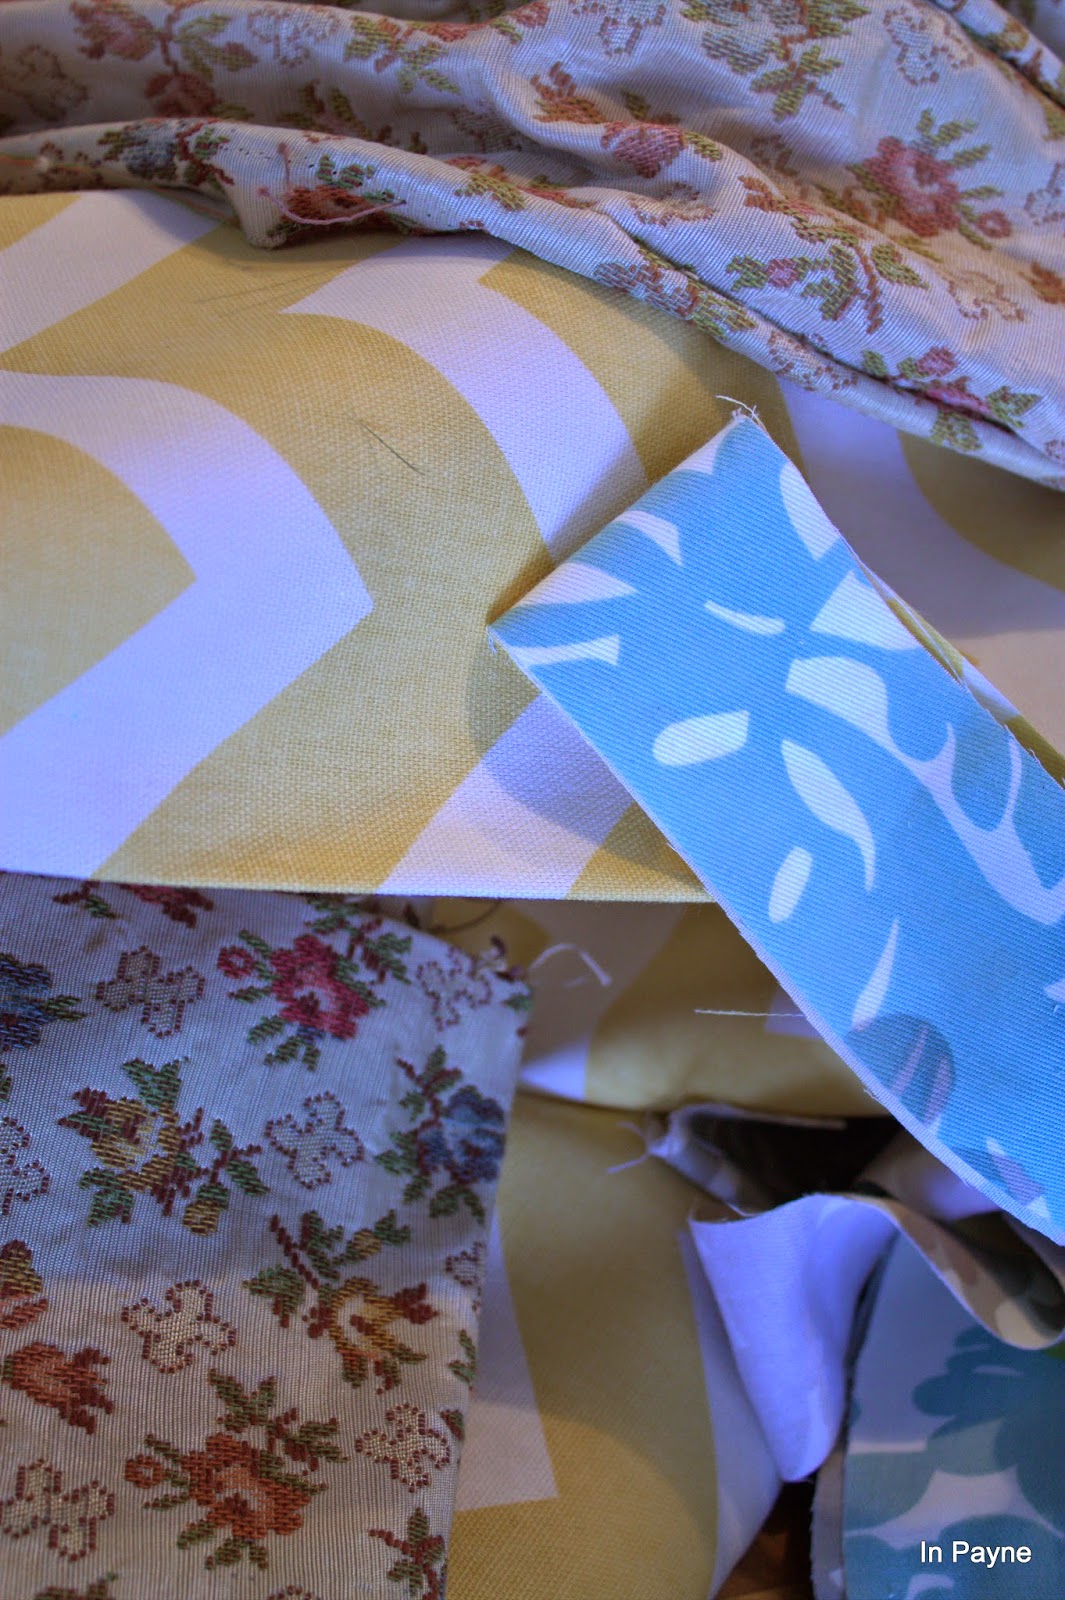
But the upholstery.....feast your eyes on this.

And might I just say, it feels as nasty as it looks.

The chair was unstained and honestly very well taken care of. Probably never sat in because it was so ugly and itchy. 

Just sayin.

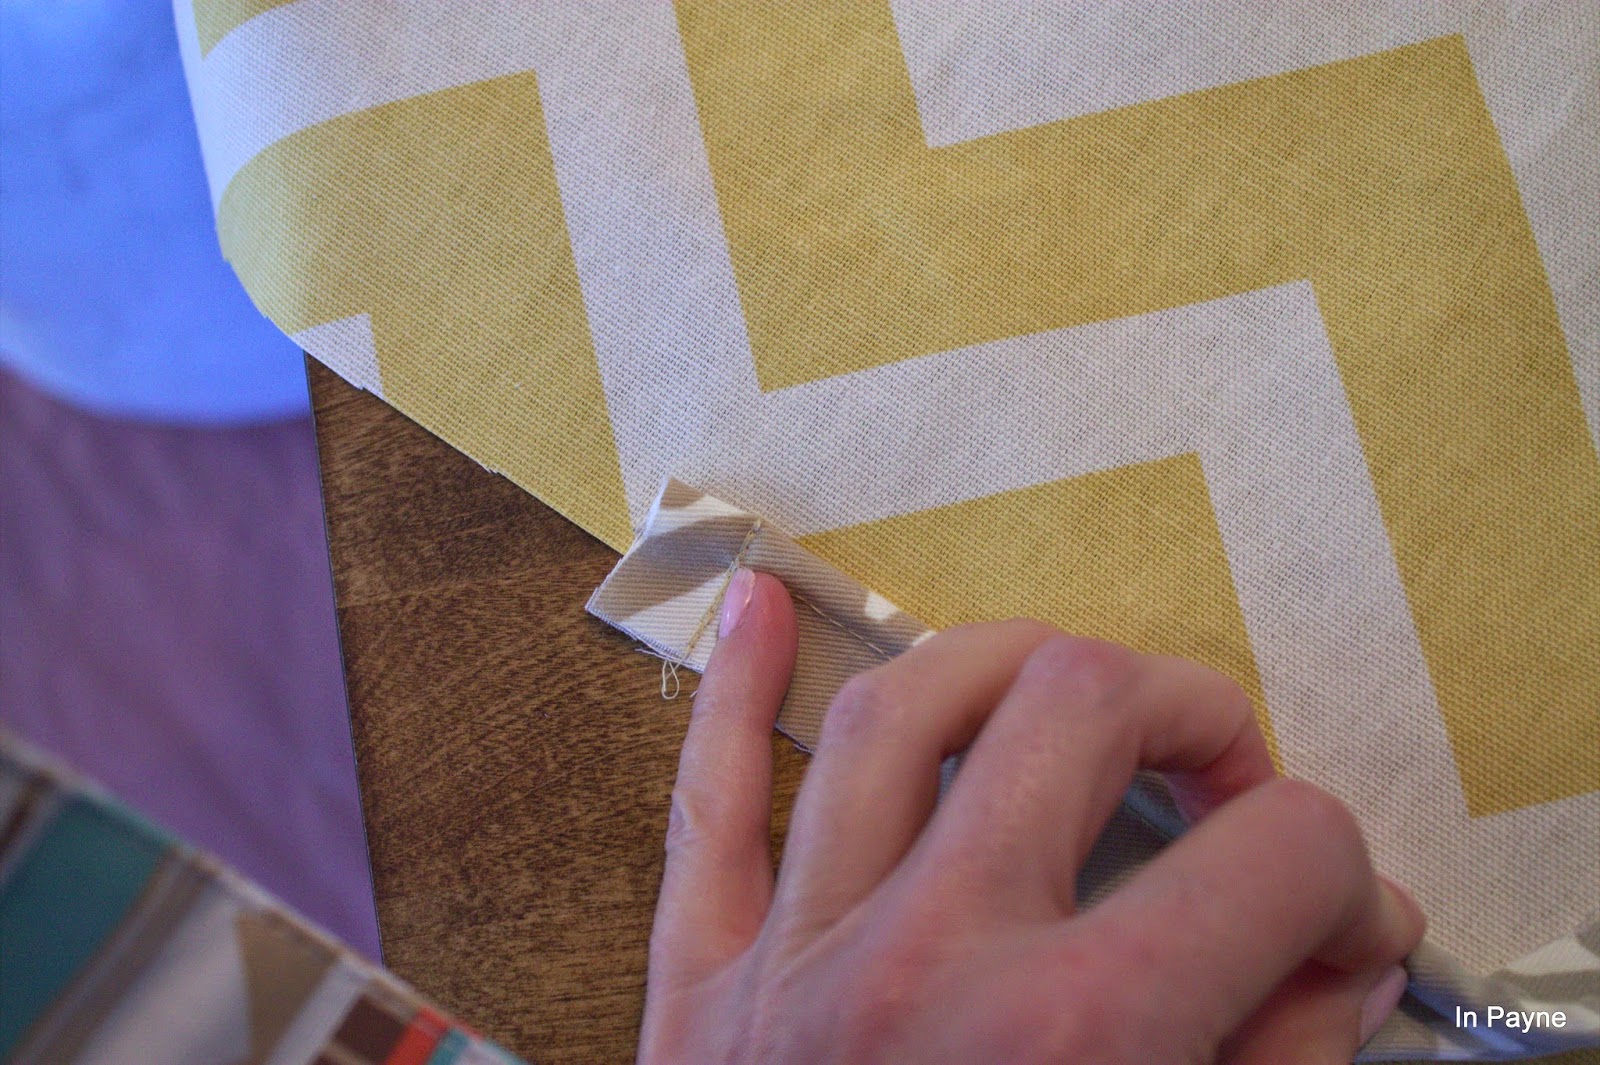
I grabbed my seam ripper and tore apart the seat cushion. I needed to do this for pattern making purposes.

I also like the cording around the edges but did not want to rip it all apart to retrieve the filler cord. I decided to buy new.


Said cord at a fabric store...5 bucks for 10 yards

Clothes line cord at wal-mart, 98 cents for 10 yards.

I cut 100 inch lengths of 2 inch wide coordinating fabric. 

Two lengths of it.

Sit at that sewing machine and sew the most un-glamorous job ever.

Dory was going through my head...."just keep sewing, just keep sewing".


Whew! Glad that is over!

Now for the fun stuff.....cut two pieces of fabric for the "seat" of the cushion using the old material as the pattern.


Now lay the cording on the edge of one of the pieces you just cut and sew onto the right side of your fabric.


When you come upon a corner, snip the fabric that is the seam side of the cording....being very careful NOT to cut your glamorous seem you worked so hard on.


Now repeat on the second seat fabric piece that you have.


Next I cut another strip of fabric 100 inches long but this time it is 6 inches wide.
This becomes your cushion depth, per the original cushion to allow for the old stuffing to be re-used.

You guessed it, sew right sides together, one at a time.

HOWEVER....I left the entire back of the cushion un-sewn to allow me to place the "stuffing" aka internal cushion inside of my new cushion cover.

Turn right sides out and stuff.


I did hand sew the seam in the back of the cushion but this was done while watching an extremely educational show on t.v.  (eat streets.....I HAVE to know these things for our next trip to Texas!!)


I love that I did not use the same material for the cording as I used for the actual cushion! I think it gives it a great look and is just quirky enough but not a "what were you thinking" kind of thought!

Next: onto the chair body....wish me luck!!

Monday, February 9, 2015

Throw Pillows

We had a snow day last week and I chose to use it to complete a few of those little projects that have been starring at me for hmmmm, months.

I am re-upholstering a chair and also making a couple of pillows for the chair.

This is how I made the pillows.


First, you need to know the size of the pillow insert, mine is 14 x 14.

I cut one square 15 x 15 to allow for 1/2 inch seams

The second was a rectangle 19 x 15

I cut the 19 inch length in half and ironed the edges 1/2 inch on each. Run a quick straight stitch seam on each of the ironed edges.


Now lay the cut "flaps" over the 15 inch square, overlapping the seamed edges all with right sides together to make a 15 inch square again.


Sew all four sides with a simple straight stitch. The opening is now the envelope flap in the center of the case.

Turn right side out and insert the pillow for thru the flap. 
I do it this way to enable the ability to remove the pillow when washing is needed.


I also wanted a round "bolster" type of pillow.

First I decided on the diameter size of the pillow. 
(see kids, you really DO use math after graduation!!!)

For me it was my salad plate. Cut 2

I decided on the length I wanted the pillow (12") and then needed to know how much material was needed to go around the pillow....this is going to get really complicated so stay with me here....

I extended my tape measure and rolled my plate along it to find the circumference of the plate. (again, see kids, you really DO use math after graduation!)

Still with me? Ok, good.

I cut a 13 inch wide, 29 inch long piece of material (yours will vary according to your plate size!) and sewed all the way along one of the circles using the 29 inch length.

Sew the other circle the very same way...all with right sides together.


To finish, sew a  straight seam across the 12 inch length leaving enough of an opening to stuff the pillow with fiber fill.

Once stuffed, I used a quick whip stitch to close the pillow and voile'!


Be careful not to over stuff your pillow of you will have "q-tip" ends...not pretty.


p.s. I know that I have shown how to make square pillows previously however a pretty pillow is always worth sharing again! And the bolster pillow is a new DIY for me. I hope you enjoy!